Creating the First Interactive Application

I'm Sunku, a tech enthusiast who loves to learn, teach, and collaborate. I'm currently working on Android app development and learning data structures, currently pursuing a Bachelor's Degree in Computer Science.
For creating interactive applications we need to know about classes, objects, object-oriented concepts, UI Elements, and Interactions.

Android Gif
or practice in this blog, we will try to create a dice roller application, where a number is generated randomly according to the size of the dice (generally 6 sides), So let’s get started. we will learn about,
- How to add a
Buttonto an Android app. - How to add behaviour for when a
Buttonis tapped in the app. - How to display a
Toastmessage. - How to update the contents of a
TextViewwhile the app is running.
Adding a Button to Layout
For starters, android has the beautiful concept of Views and ViewGroups, where there are Views within ViewGroup, and the Views are considered children of the parent ViewGroup
In our case, The Views like TextView and the Button will be located within a ConstraintLayout, which is a type of ViewGroup.

Views and ViewGroup
So, for adding the button to the UI we need to follow these steps,
- Drag a Button from the Palette onto the Design view, positioning it below the “Hello World” TextView.

Adding Button to UI
2. Notice an error in the Component Tree, that the Button is not constrained. Since the Button is sitting within a ConstraintLayout, you must set vertical and horizontal constraints to position it.

3. In the DesignView Connect all sides of the button to the parent as shown below

Gif about Connection
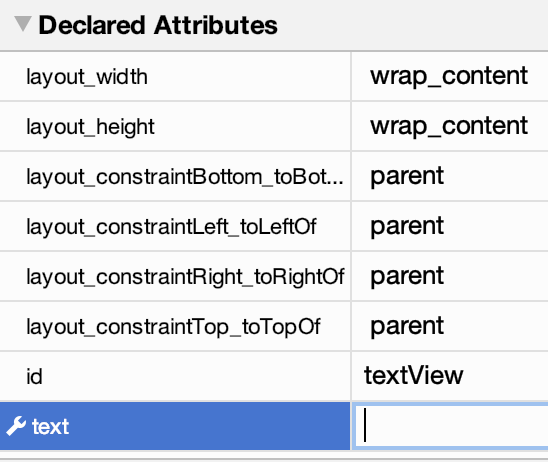
4. Change the Name of the Botton from BUTTON to Roll From the Attributes list and remove the Hello World! text and add any number like 1 from the TextView Attributes list and also increase the textSize property of TextView to 40sp
5. Finally,

Great, you’re done with the layout changes!
You have an app with a button, but if you tap the button, nothing happens. To change this, you’ll need to write some Kotlin or Java code that rolls the dice and updates the screen when the button is tapped.
Making Button Interactive
To access the UI Elements in our code we need to create objects for them and connect that object to the UI Element by using an identifier or ID, Let’s look into the process in detail
- Create Button Object and connect that with the View Button in XML Layout File
val rollButton: Button = findViewById(R.id.button)
Here, for every View in the XML File, we will define an ID, for identifying them uniquely from all the Views, so in the above step, we have associated the Button object with the actual Button View.
2. Whenever a button has clicked a function should be executed for implementing our needs on the button click. In Android, we have EventListeners — here we use setOnClickListener {…}
rollButton.setOnClickListener {
}
3. So, we are ready to implement the logic of generating the random number based on the number of sides, the dice have. The Logic should be placed inside the Listener defined above,
4. Let’s Define a Class which will generate a random number according to the objects sides property — Dice(val numSides: Int) is a constructor and roll is a method
// Kotlin Code
class Dice(val numSides: Int) {

   fun roll(): Int {
       return (1..numSides).random()
   }
}
5. Let’s, create a Dice object inside the Listener and set the value of TextView through code
//Kotlin Code//creating Dice Object
val dice = Dice(6)
//generating random number by calling the roll function
val diceRoll = dice.roll()
//Creating the TextView object by calling findViewById() functionval resultTextView: TextView = findViewById(R.id.textView)
/*converting value diceRoll to string and assigning to resultTextView*/
resultTextView.text = diceRoll.toString()
6. So, Entire Lisitner Looks like,
rollButton.setOnClickListener {
val dice = Dice(6)
val diceRoll = dice.roll()
val resultTextView: TextView = findViewById(R.id.textView)
resultTextView.text = diceRoll.toString()
}
7. Finally the application is ready
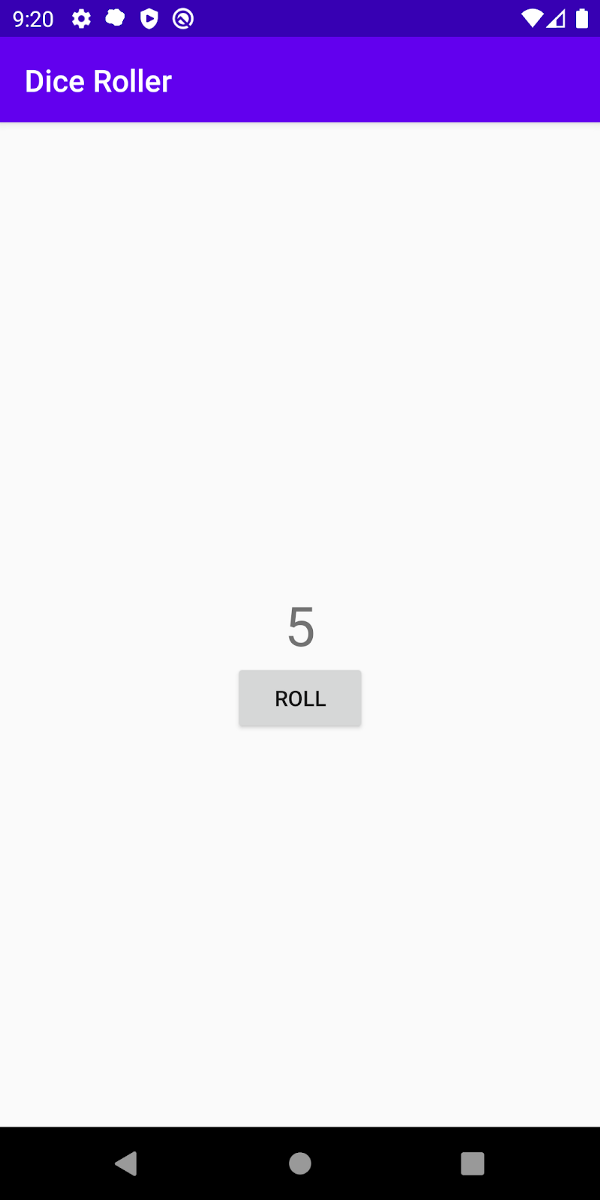

Congratulations, You have completed your first app. Try using images in place of the Text for showing the Dice result.
You can find the solution code here — https://github.com/google-developer-training/android-basics-kotlin-create-dice-roller-with-button-app-solution
Thanks for reading this article and staying till the end here with me, Hope I was able to share my valuable information with you.
Show your love by sharing this article with your fellow developers.
Follow me for more content about Android. If you have any questions, Contact me via sunkusaarthak@gmail.com


